
Next, cut paper to fit the back of the box. Using matte medium, glue on the paper getting rid of any air bubbles. In this case, black paper may not have been the best choice since it tends to fade when matte medium is put on it.

Measure the inside of the box and cut paper with paper cutter to get smooth edges.
Cover the inside of the box removing air bubbles.


While the box is drying, work on the cover. Find a piece of glass from a small picture frame. The glass needs to fit on the inside of the cover. Measure a smaller opening than the size of the glass. Using an exacto knife, cut a hole in the cover. Warning- be careful. Cover the front of the box cover with parts on the inside. You may have to recover to make a clean opening. I Used washi tape to go around the lid edges. Glue glass inside cover using E-2000. You need to be careful that the glue doesn't get on the window. It is difficult to get it off. Sometimes I use baby wipes to clean the glass. 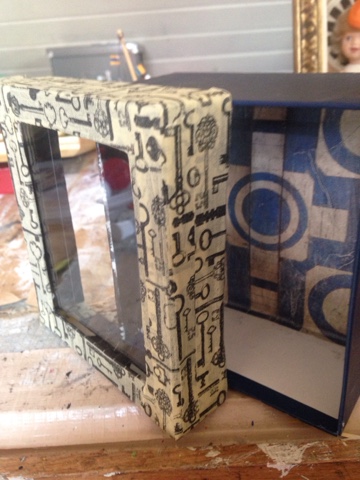

Finally, put on the lid. Viola, an assemblage box. I put a metal round hook on the back for hanging. 

WOW B you make sound simple! I love the result...
ReplyDelete